
If you are searching for pdf to jpg free methods on Mac, you are likely trying to convert documents into image format without paying for expensive software.
Whether you want to extract pages, share content easily, or use images in presentations, converting PDF files to JPG is a very common task on macOS.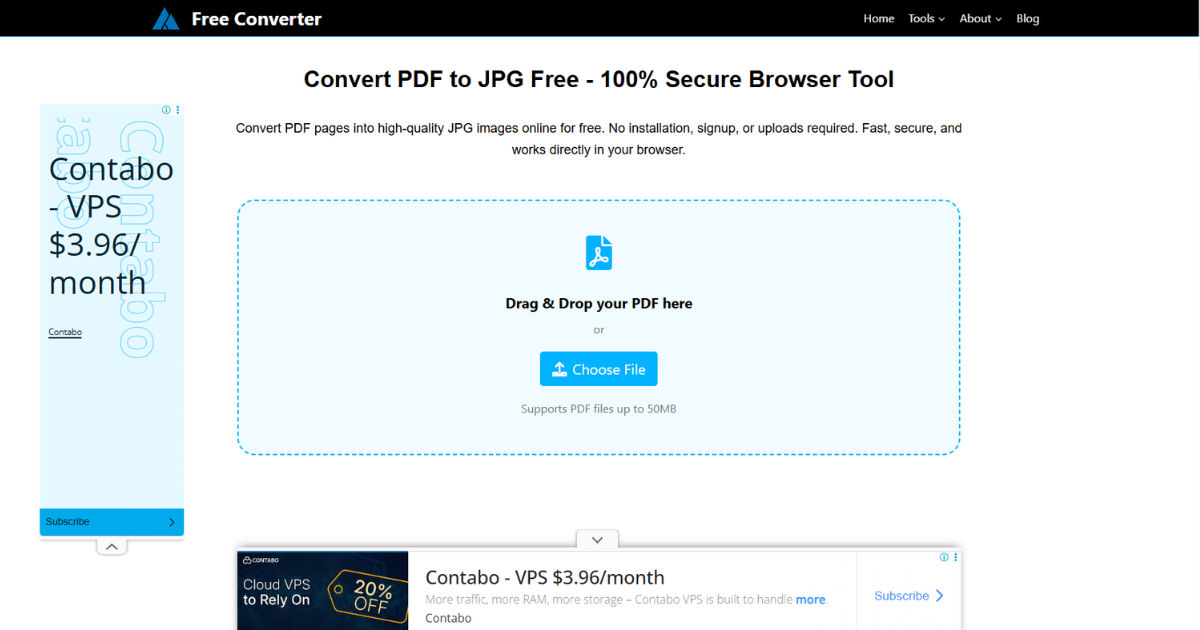
This guide will walk you through multiple easy and free ways to convert pdf to jpg free into JPG images on a Mac. Everything is explained in simple language so even a 12th-grade student can follow without confusion.
PDF and JPG Formats
Before learning conversion methods, it helps to understand what you are working with.
What is a PDF?
A PDF (Portable Document Format) is used to preserve layout, text, and images exactly as they appear. It is widely used for documents like:
- Notes and textbooks
- Forms and applications
- Reports and eBooks
PDFs are great for reading but not always convenient for editing or image use.
What is a JPG?
A JPG (or JPEG) is an image format. It is commonly used for:
- Photos
- Website images
- Social media posts
- Easy sharing
JPG files are lightweight and widely supported.
Why Convert PDF to JPG?
People often convert PDFs into images because:
- Images are easier to share on apps
- You can upload them to websites that don’t support PDFs
- You can edit them in photo tools
- You can extract single pages visually
That’s why many users search for pdf to jpg free solutions on Mac.
Method 1: Using Preview App (Built-in Mac Tool)
Mac computers come with a powerful built-in app called Preview, and it is the easiest way to convert PDFs without installing anything.
Step-by-Step Guide
Step 1: Open the PDF
- Right-click your PDF file
- Select “Open With”
- Choose Preview
Step 2: Select the Page
If your PDF has multiple pages:
- Click the thumbnail sidebar
- Select the page you want to convert
Step 3: Export as JPG
- Click “File” in the top menu
- Select “Export”
- Choose format as JPEG
- Adjust quality if needed
- Click “Save”
Advantages of Preview Method
- No internet required
- Completely free
- Fast and reliable
- Built into macOS
This is the simplest way to achieve pdf to jpg free conversion on Mac.
Limitations
- One page at a time for best control
- Not ideal for batch conversion unless you repeat steps
Method 2: Using Quick Actions in Finder (Automated Way)
Mac Finder includes automation features that can help convert files quickly.
Steps to Use Quick Actions
Step 1: Open Finder
Locate your PDF file in Finder.
Step 2: Right-click the file
- Select “Quick Actions”
- Look for “Convert Image” (if available)
Step 3: Choose Output Format
- Select JPEG
- Confirm output location
Why This Method is Useful
- Faster than manual exporting
- Works directly from file manager
- Good for quick conversions
However, not all macOS versions support direct PDF-to-JPG Quick Actions. In such cases, Preview is better.
Method 3: Using Automator (Batch Conversion Tool)
If you want to convert multiple PDFs or pages at once, Automator is a powerful built-in Mac tool.
What is Automator?
Automator is a macOS application that lets you create workflows to perform repetitive tasks automatically.
Steps to Create PDF to JPG Workflow
Step 1: Open Automator
- Go to Applications
- Open Automator
Step 2: Create New Document
- Select “Workflow” or “Quick Action”
Step 3: Add PDF Action
Search for:
- “Render PDF Pages as Images”
Drag it into workflow area.
Step 4: Set Format
- Choose JPEG
- Set resolution (72–300 DPI depending on quality needed)
Step 5: Save Workflow
Name it something like “PDF to JPG Converter”
Step 6: Run Workflow
- Right-click PDF
- Choose your created action
- Output JPG files will be generated automatically
Benefits of Automator
- Great for bulk conversion
- Saves time
- Fully free and built into Mac
This method is one of the most efficient ways to perform pdf to jpg free conversion at scale.
Method 4: Using Online Free Tools
If you do not want to use built-in Mac apps, online converters are another option.
How Online Conversion Works
You upload your PDF file to a website, and it converts each page into JPG images.
Steps to Use Online Tools
Step 1: Open a Converter Website
Search for “PDF to JPG converter”
Step 2: Upload File
- Click upload button
- Select your PDF file
Step 3: Convert
- Choose JPG format
- Click convert
Step 4: Download Images
- Download individual images or ZIP file
Advantages
- No installation needed
- Works on any browser
- Simple interface
Disadvantages
- Requires internet
- File privacy concerns for sensitive documents
- May have file size limits
Still, many users prefer this method for quick pdf to jpg free conversion.
Method 5: Using Terminal (Advanced Users)
Mac’s Terminal allows powerful file conversion using built-in commands.
Using sips Command
Mac includes a command-line tool called sips (Scriptable Image Processing System).
Steps:
Step 1: Open Terminal
- Go to Applications
- Open Utilities
- Launch Terminal
Step 2: Run Command
Type:
sips -s format jpeg input.pdf --out output.jpg
Step 3: Press Enter
Your file will be converted.
Advantages
- Very fast
- No extra software needed
- Good for tech-savvy users
Limitations
- Not beginner-friendly
- Limited control over page selection
- May require adjustments for multi-page PDFs
Still, it is a powerful free option for pdf to jpg free conversion.
Method 6: Using Third-Party Free Apps
There are also free Mac apps available on the App Store or developer websites.
Popular Types of Apps
- PDF converters
- Image extraction tools
- Document managers
What to Look For
When choosing an app:
- Check ratings
- Ensure it supports JPG export
- Avoid paid-only hidden features
Benefits
- More features than Preview
- Batch processing
- Editing tools included
Drawbacks
- Some apps include ads
- May require permissions
- Not always necessary since Mac already has built-in tools
Tips for Best PDF to JPG Conversion on Mac
To get the highest quality results, follow these tips:
Choose High Resolution
- 300 DPI is best for print quality
- 72–150 DPI is fine for web use
Use Correct Format
Always select JPEG for balance between quality and file size.
Organize Output Files
Create a separate folder for converted images.
Check Page Order
Make sure pages are exported in correct sequence.
Common Problems and Fixes
Problem 1: Blurry Images
Solution: Increase export resolution in Preview or Automator.
Problem 2: File Not Opening
Solution: Ensure PDF is not corrupted.
Problem 3: Missing Pages
Solution: Select all pages before exporting.
Problem 4: Large File Size
Solution: Reduce image quality slightly during export.
Which Method is Best?
Here is a quick comparison:
- Preview → Best for beginners
- Automator → Best for batch conversion
- Online tools → Best for quick access
- Terminal → Best for advanced users
- Third-party apps → Best for extra features
For most users, Preview is the simplest and safest way for pdf to jpg free conversion.
Why Mac is Great for PDF Conversion
MacOS is designed with built-in tools that eliminate the need for expensive software. Apps like Preview and Automator make document handling easy and efficient.
You do not need to download heavy programs or pay for subscriptions just to convert files. This makes Mac a very practical system for students, office workers, and casual users.
Final Thoughts
Converting PDFs into images is a very useful skill in today’s digital world. Whether you are sharing notes, preparing school work, or uploading content online, knowing how to convert files quickly saves time and effort.
The best part is that Mac already provides multiple free options. From Preview to Automator and even Terminal, you can choose a method based on your comfort level.
If you are just starting, Preview is the easiest way to handle pdf to jpg free conversion. As you become more experienced, you can explore Automator or Terminal for faster and more advanced workflows.
No matter which method you choose, the process is simple, fast, and completely free on macOS.